Good morning BFFs! Lots of header frustration the last few days!
So here's the deal with the header: there are about 173 ways to configure your header. Check out this page and look for all the people that say they use Make and look at their sites.
I had to pick ONE way to teach you guys, and the settings are spread all throughout Appearance > Customize… So I'm gonna break it all down in this post, and then I PROMISE a video is coming soon!
Menus
Make allows for 2 places for menus – at the very top of the page (like I have here on www.wp-bff.com) or below the header image like on some of these sites that use Make (scroll about halfway down this page).
In Appearance > Customize > General > Navigation you set what menus will appear where. You have 2 places – either the Header Bar Menu (like WP*BFF) or Primary (like the sites I've linked to).

If you are only using Header Bar (like I am) you need to create a blank menu to assign to the Primary menu so that nothing shows up on top of your banner pic.
Alternatively, if you want to use the primary menu style you'll have an entirely different header image size, etc. (VIDEO COMING SOON LOL!!)
Header Layout
So the tippy top section of the theme is called the Header Bar. The section below that is called the Header.
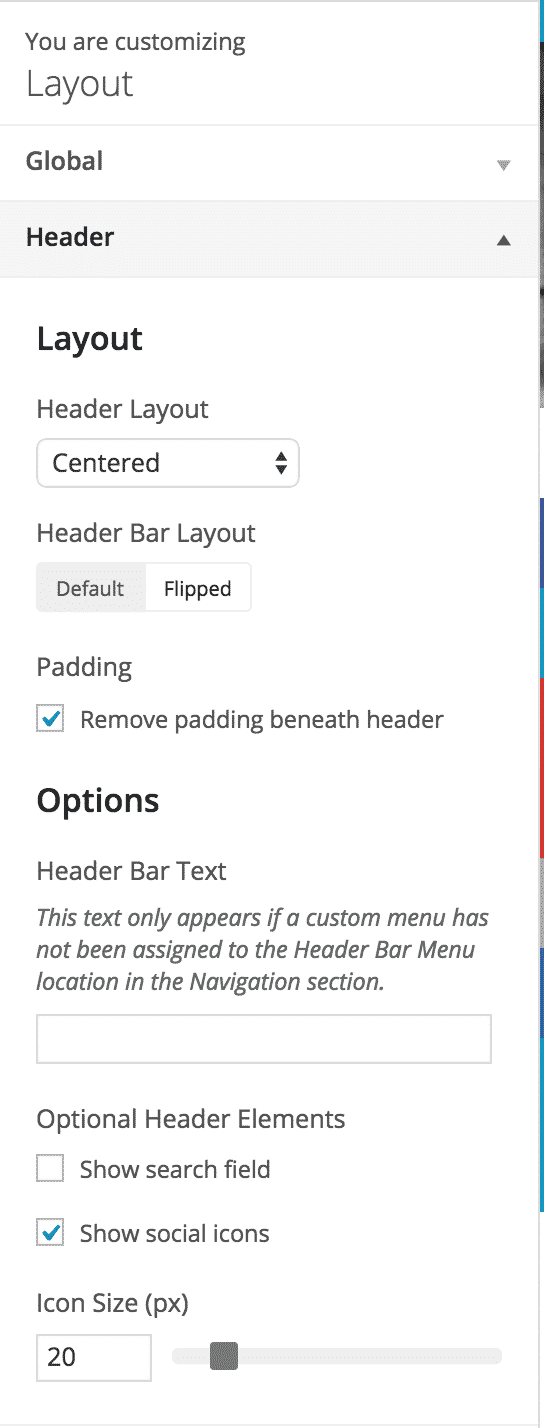
In Appearance > Customize > Layout > Header, if you are using the Header Bar menu like I show in the demo, if you change Header Bar Layout to Flipped it will move your navigation to the right-hand side. Check the box Remove Padding Beneath Header and you don't need the code I show in Day 5 to remove that space.
if you are using the Primary Menu, you can change the Header Layout settings to traditional, centered or navigation below – all of which will move that navigation to a different place on top of your header image!
Images
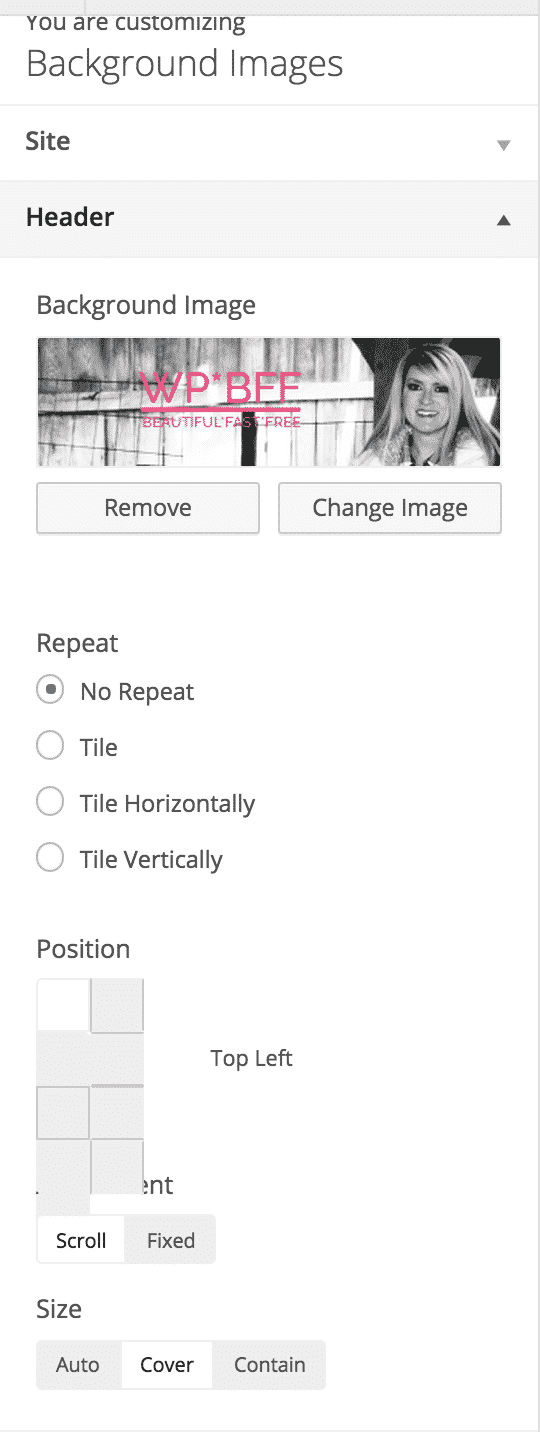
Next, you have your header image (if you're using one, and I teach this in the tutorial). This is in Appearance > Customize > Background Images > Header. For WP*BFF, I created a banner image with my logo on it, 1440 X 400, and uploaded it here, and my settings are No Repeat, Center and Cover.
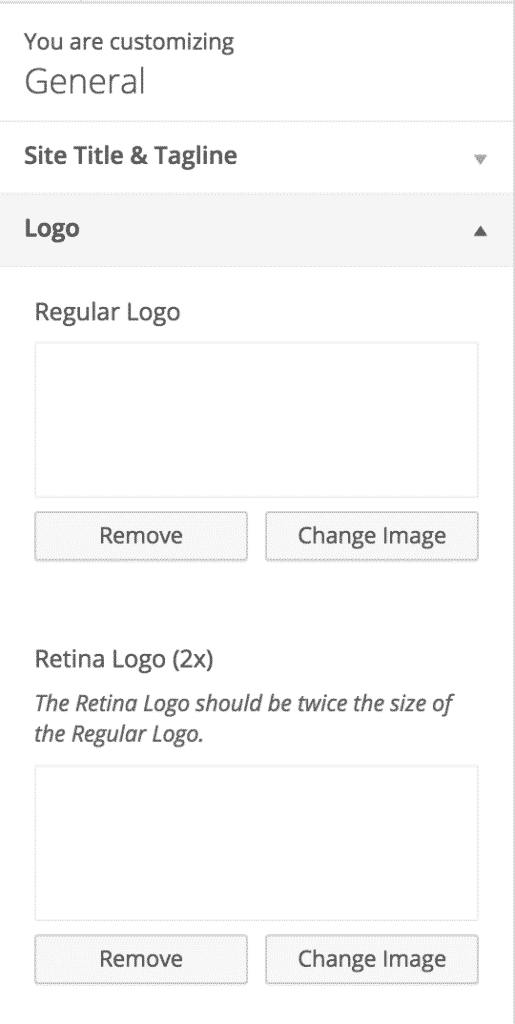
Then, in Appearance > Customize > General > Logo, I have the Spacer image that I posted in the resources on Day 3 to expand the space and show my entire banner.
Like I mentioned, there are 172 other ways to do this…
Other Settings
In Appearance > Customize > General > Site Title and Tagline, I check the boxes to hide both so they don't overlay my banner image.
Appearance > Customize > Typography > Header Bar, I adjusted the font size so the menu is a little bigger – from 13px to 17px.
Appearance > Customize > Color > Header Bar – this is where you can change the background color of the header bar.
I hope this helps!