So you're using a Google font on your site that's not available in Opt-in Skin? Here's how to create a custom skin that uses your font.
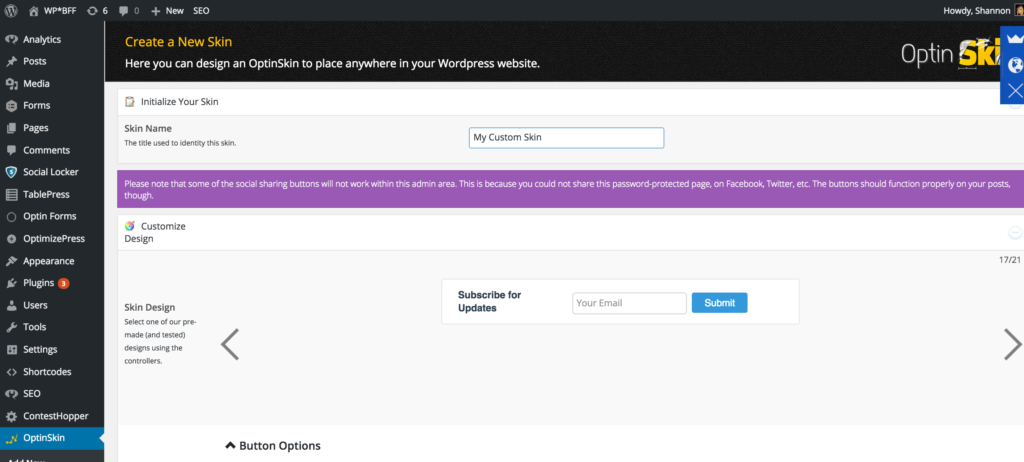
1) Select the template you want to use and customize it. It is important to get everything (except the font) exactly as you want it in step 1 because you won't be able to make changes after you do the customization. Name the template and save it.
2) Under the Opt-in Skin menu on the dashboard, click Export, 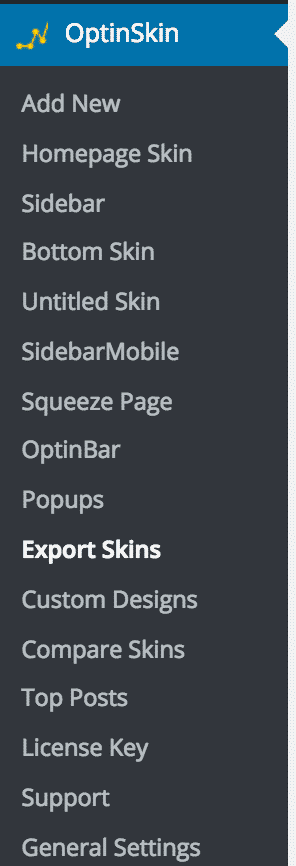
and then click the name of the skin you just customized –
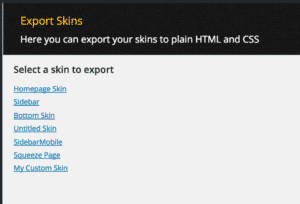
which will automatically start a download of a zipped file to your computer.
![]()
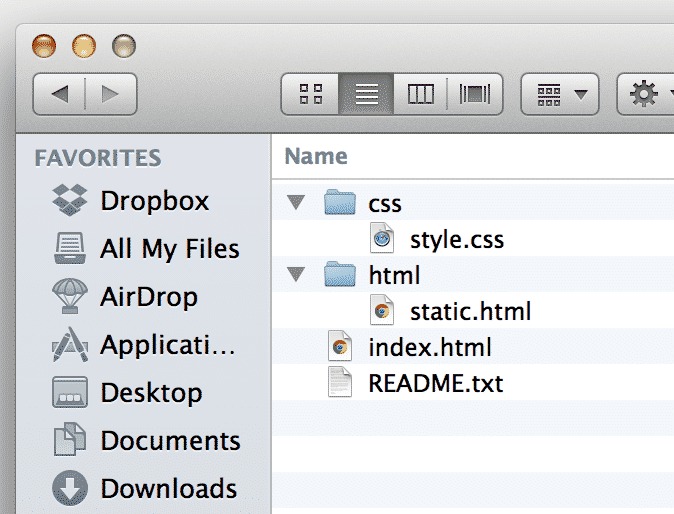
3) Find that file wherever your computer automatically saves your downloads and open up that zipped file.
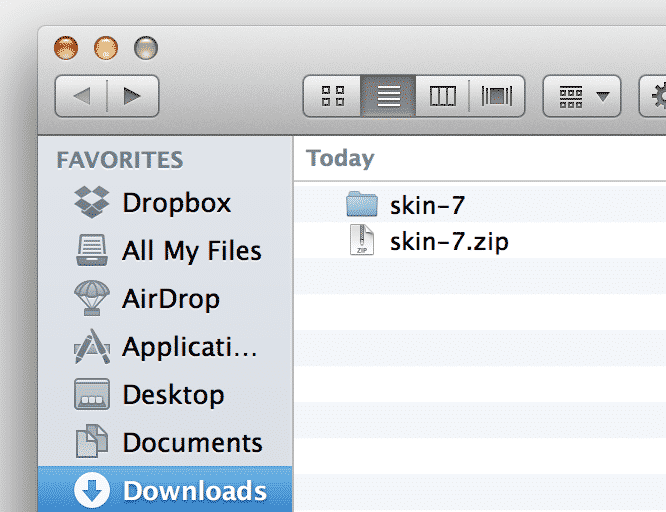
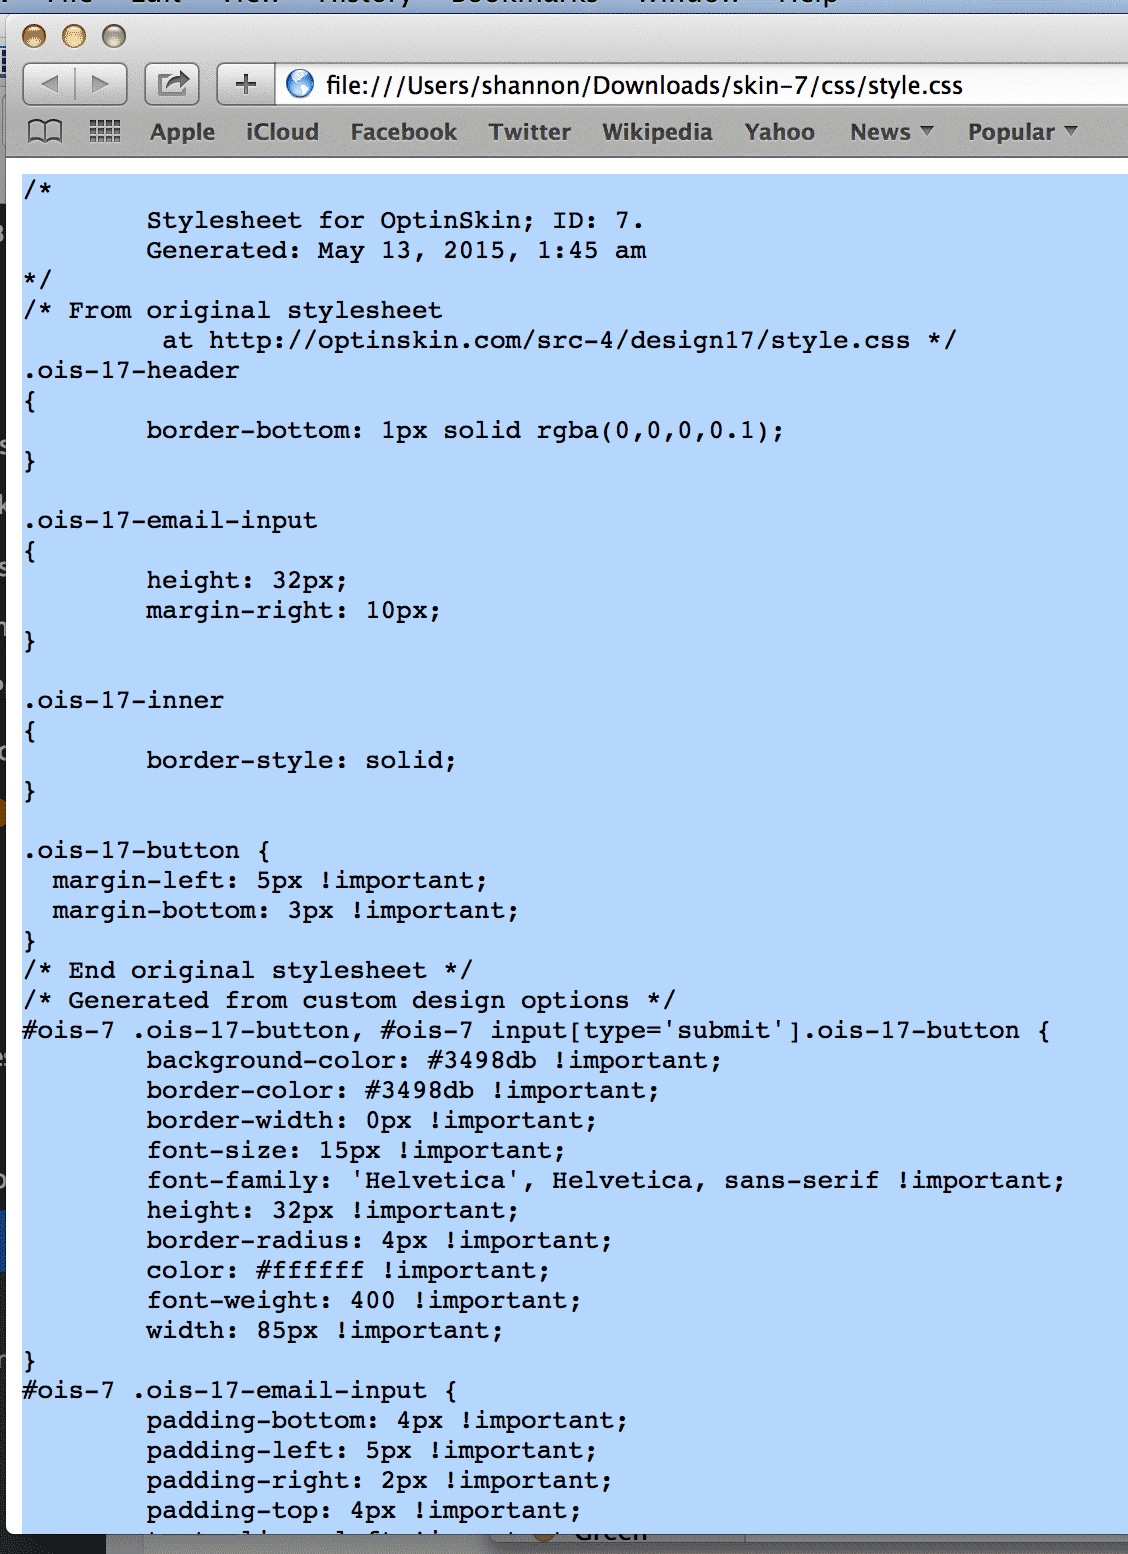
Then open the folder that's in that zipped file, and you should see a folder called HTML with a file called static.html in it, and another called CSS with a file called style.css in it. Just keep these handy for now.
4) Back in the WordPress dashboard, click on Opt-in Skin > Custom Designs
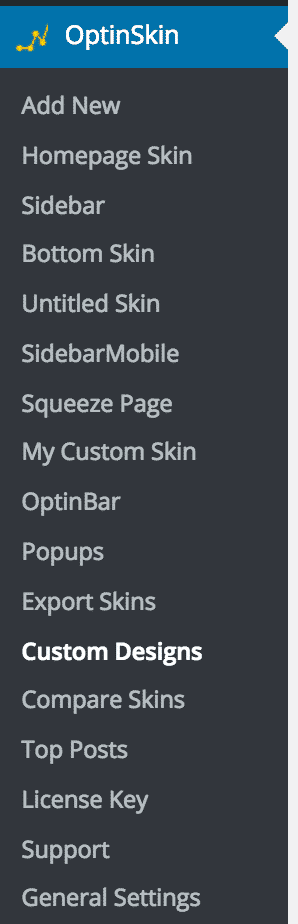
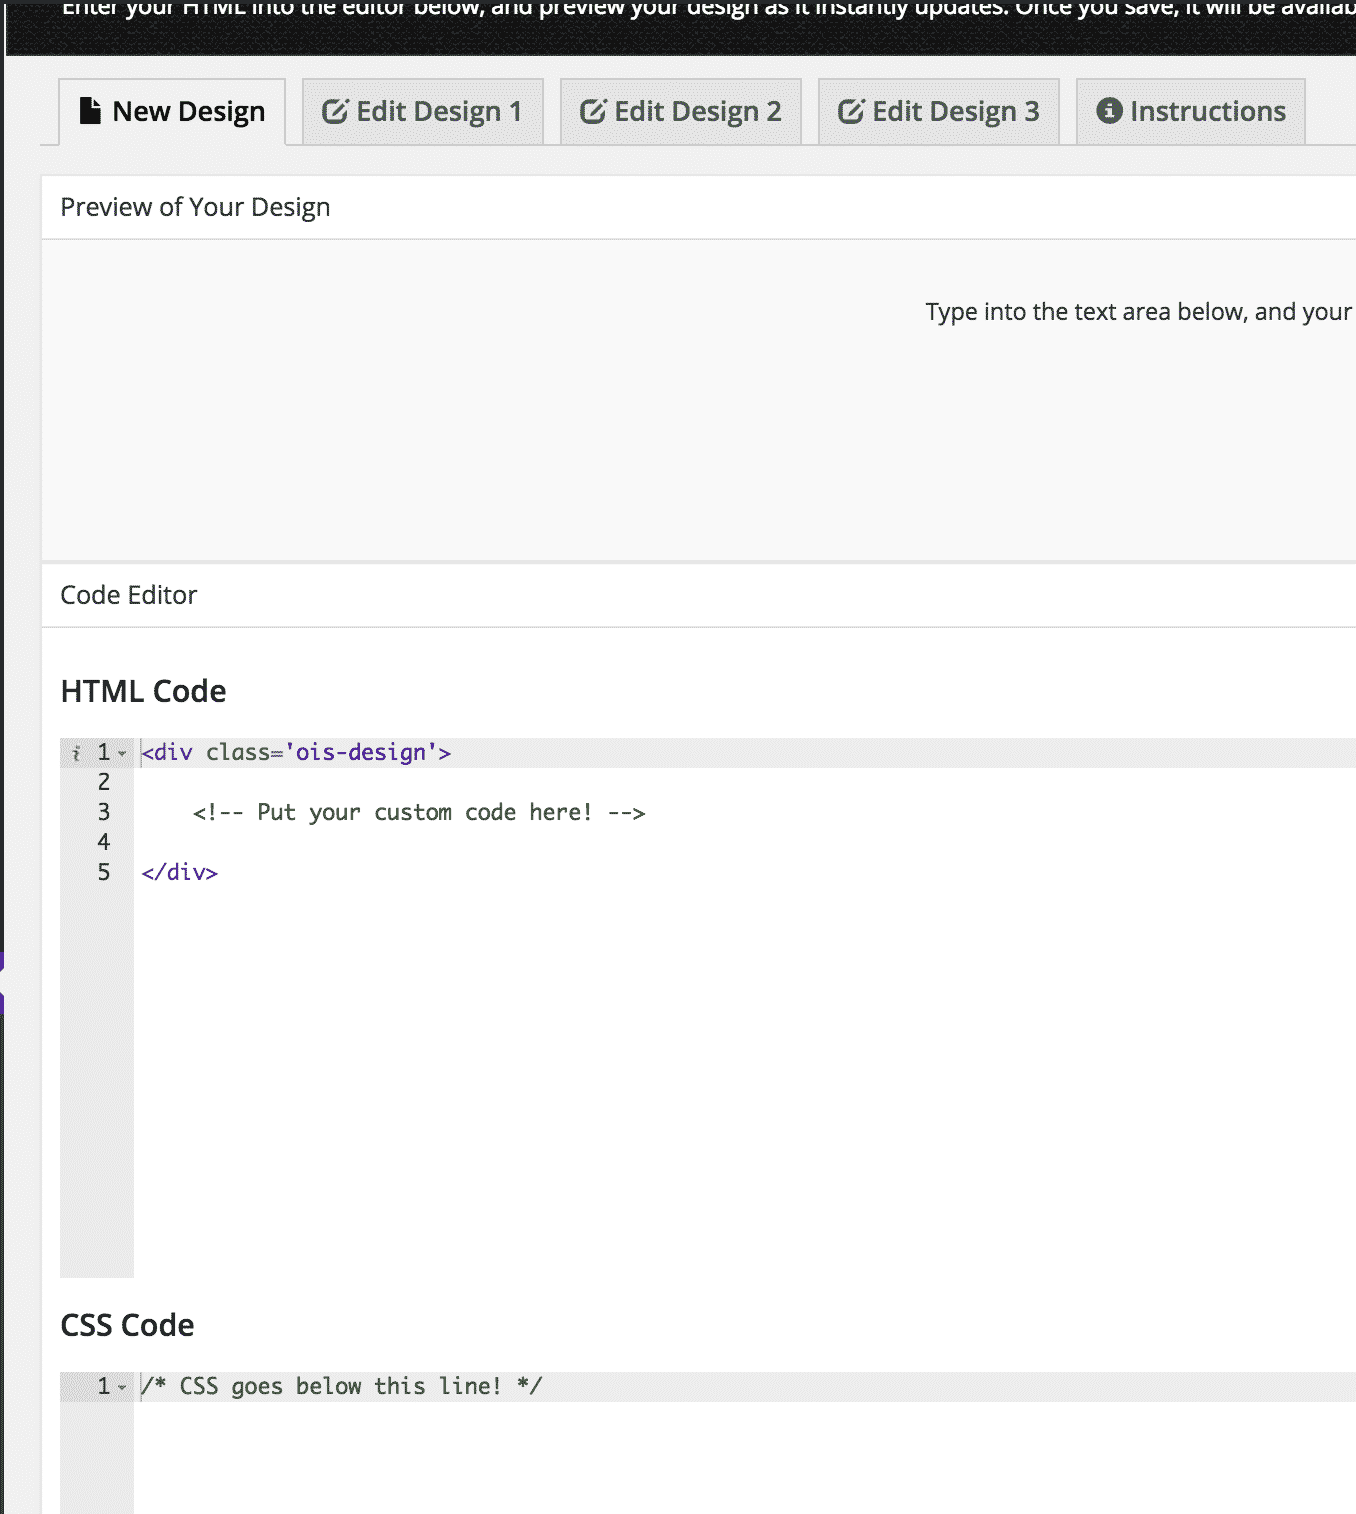
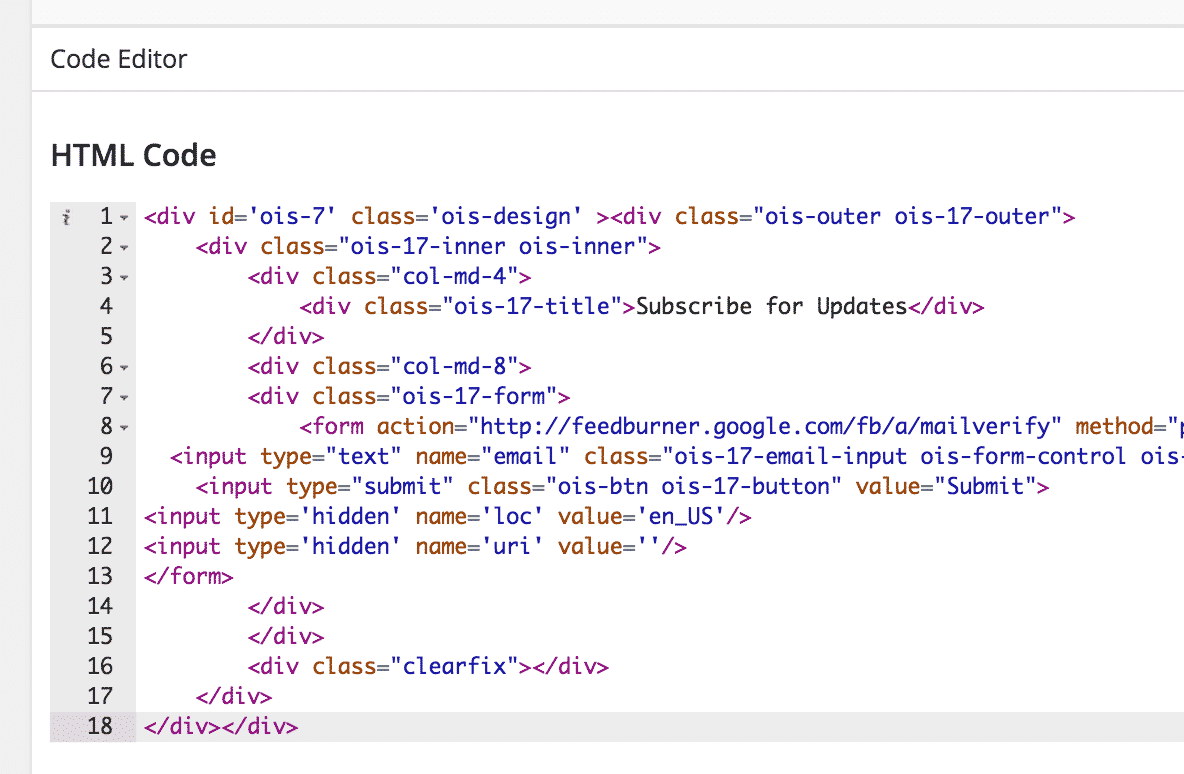
> New Design. You'll see a section for HTML code and a section for CSS code.
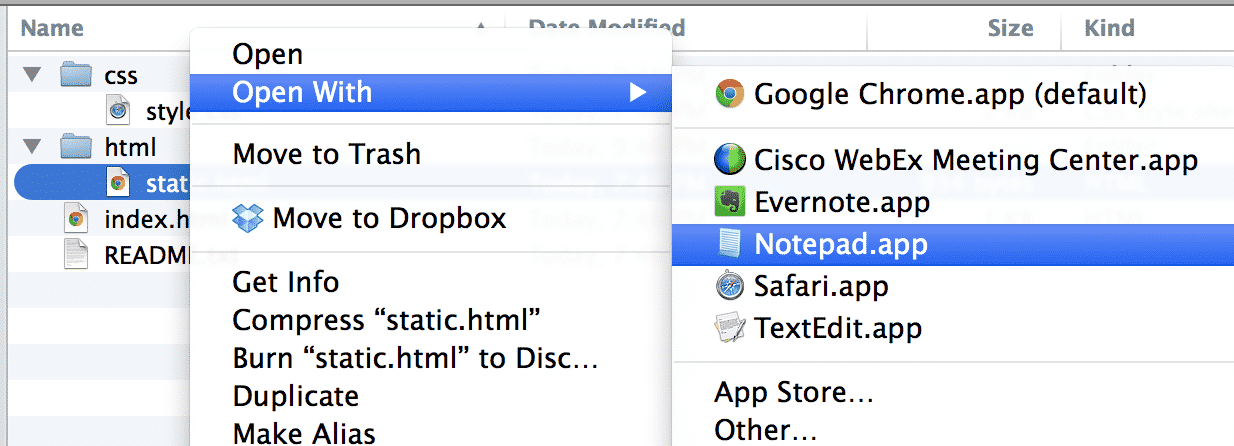
Open up the static.html file you downloaded (right-click on it, then select Open With and choose Notepad so that you see the code, not the webpage),
copy the entire contents of the file
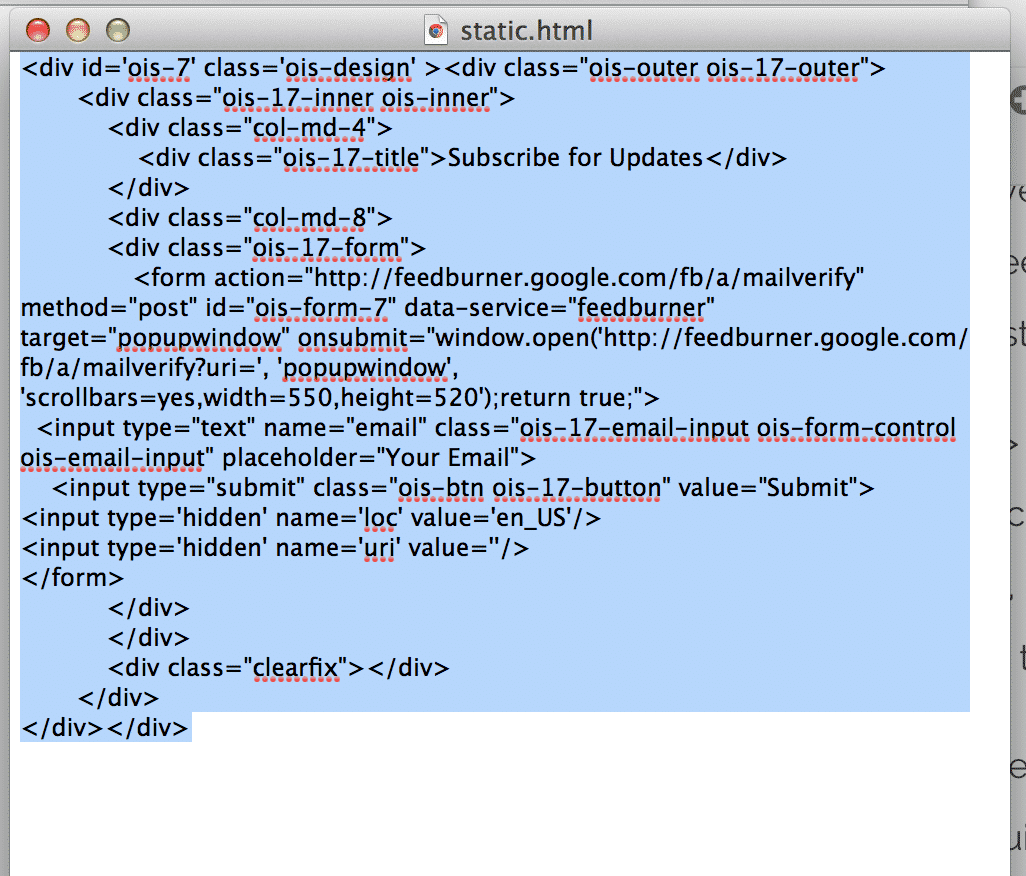
and paste in the HTML section (overwriting what's already there).
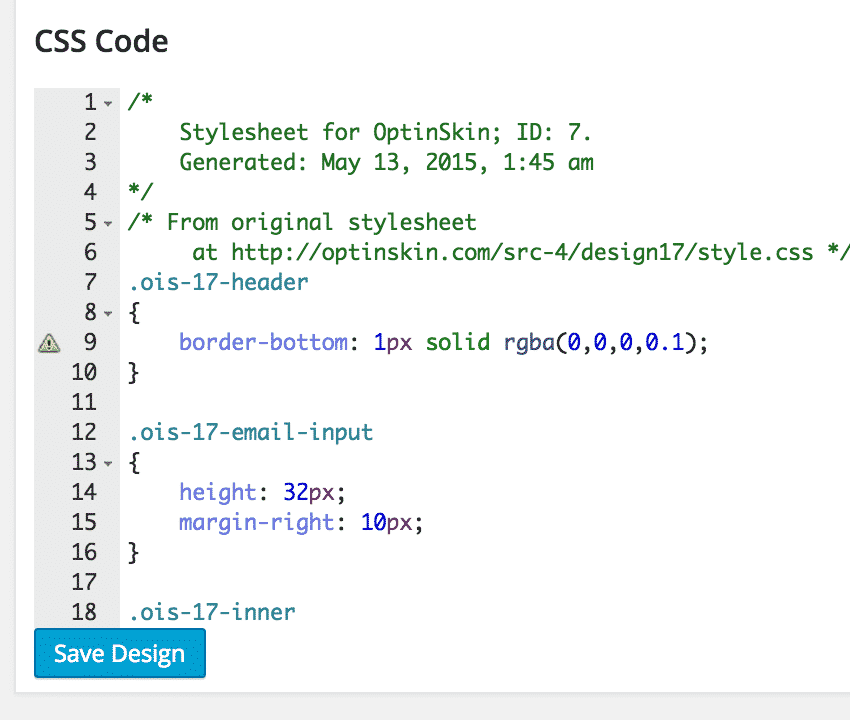
Do the same for the CSS file.
5) Now we're gonna change the font. First, in a new browser tab, go to fonts.google.com and search for your font using the search field in the top left corner. Click on the Quick Use icon, then check all the font weights and styles you want to be able to use in your website.
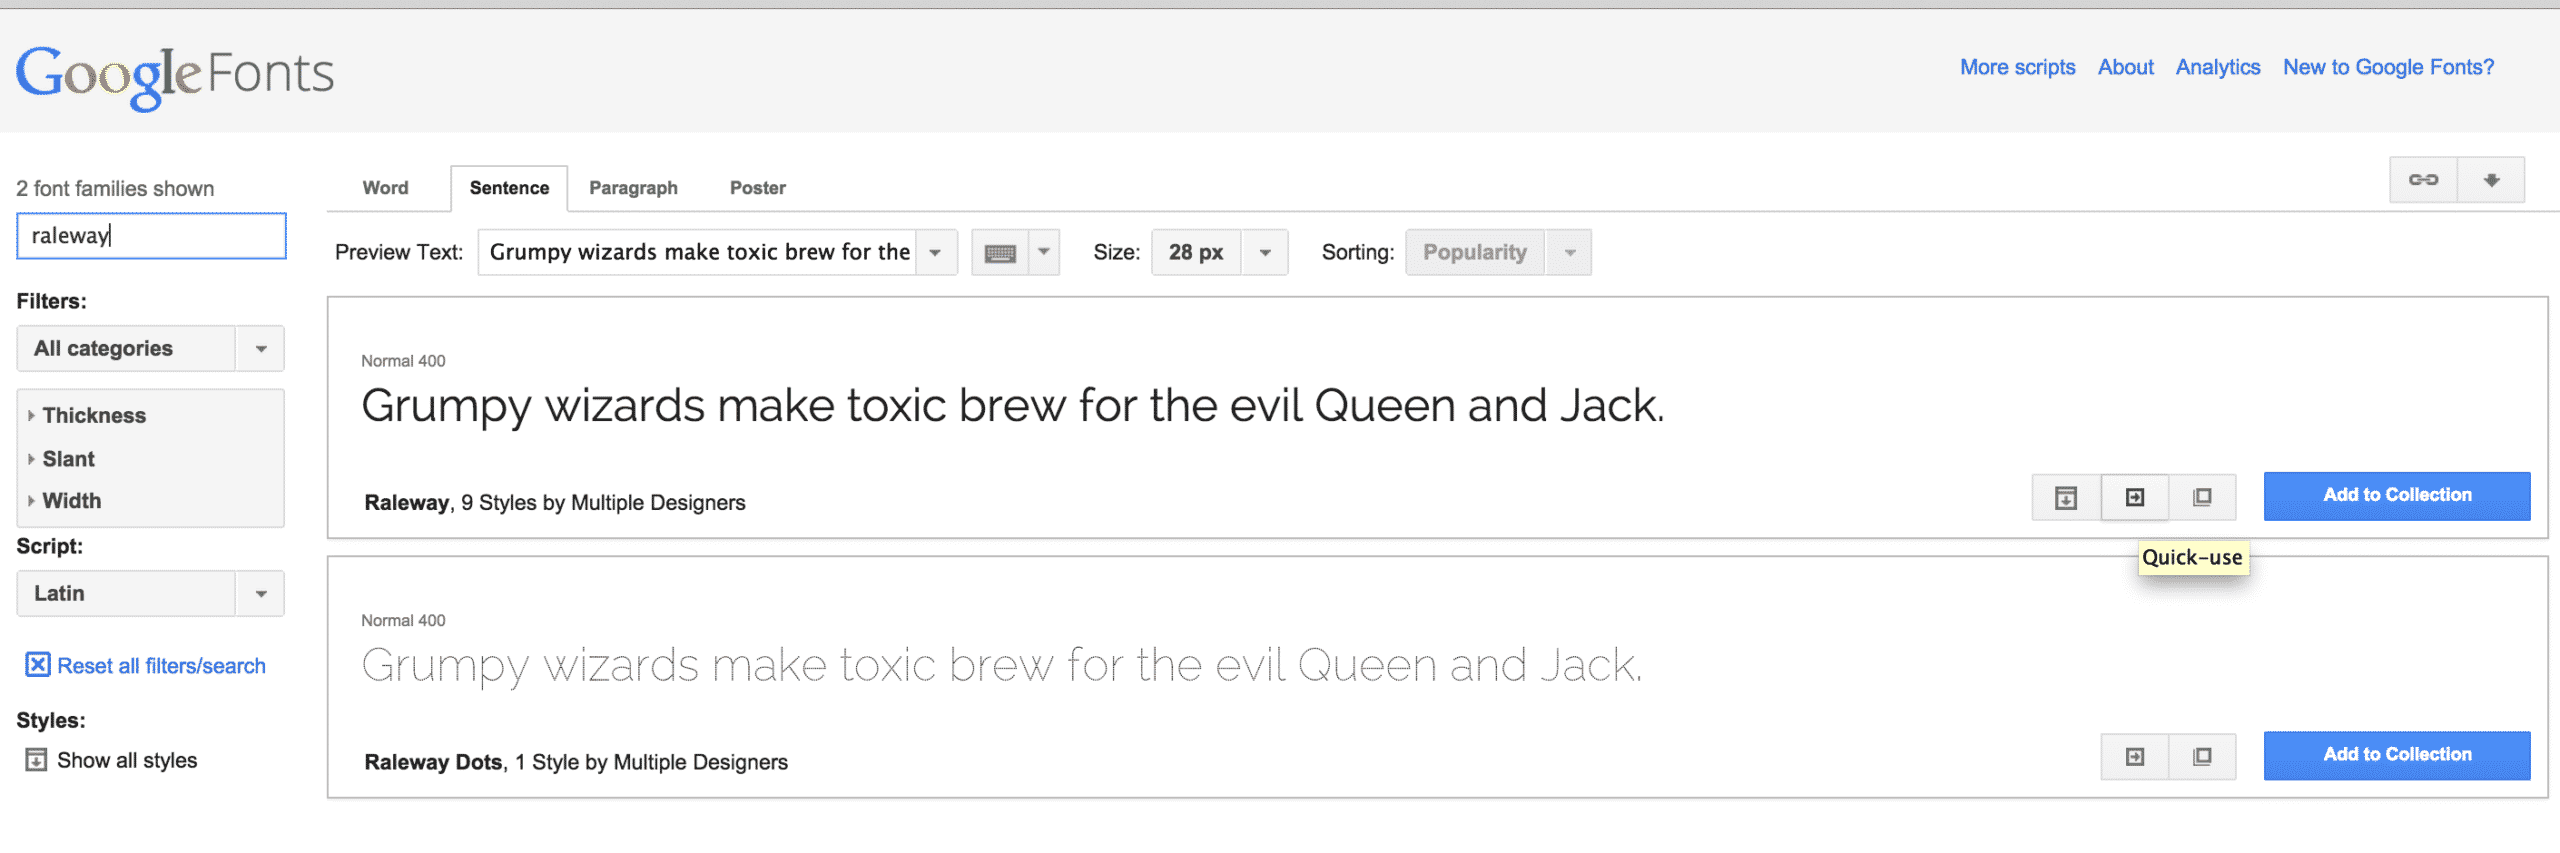
Then scroll down to step 3 where it says “Add this code to your website” and copy that code. Keep this tab open, you'll need to come back to this.

6) Go back to Opt-in Skin and paste that code on line 1 right after what's already there – no space. Scroll down and save it.

7) Go back over to Google Fonts and copy the code in Step 4 “Integrate your fonts into your CSS”. Just copy the part ‘Raleway', sans-serif (leaving off Font:family and the semi-colon at the end).

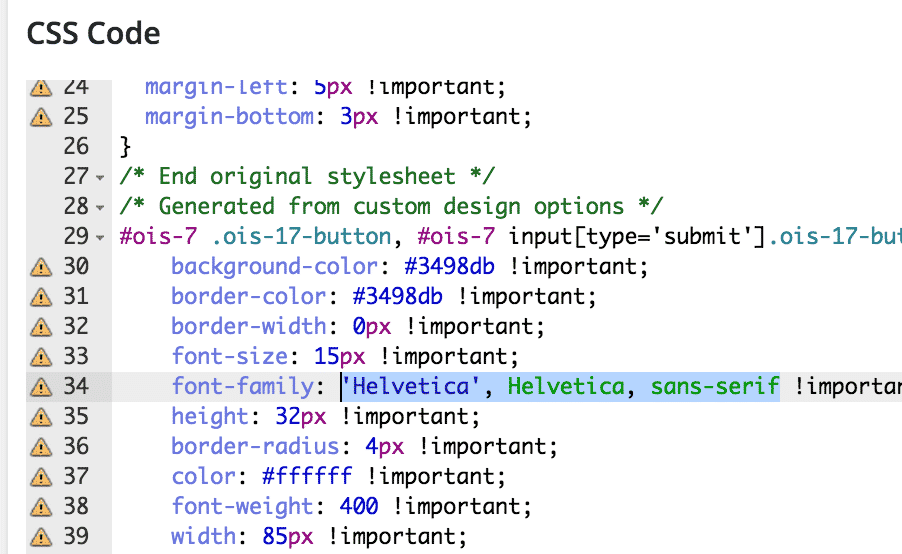
8) Go over to Opt-in Skin and go to the CSS section, and everywhere you see “font-family” paste the new font code over the original font name. Save the custom design.
OLD
NEW
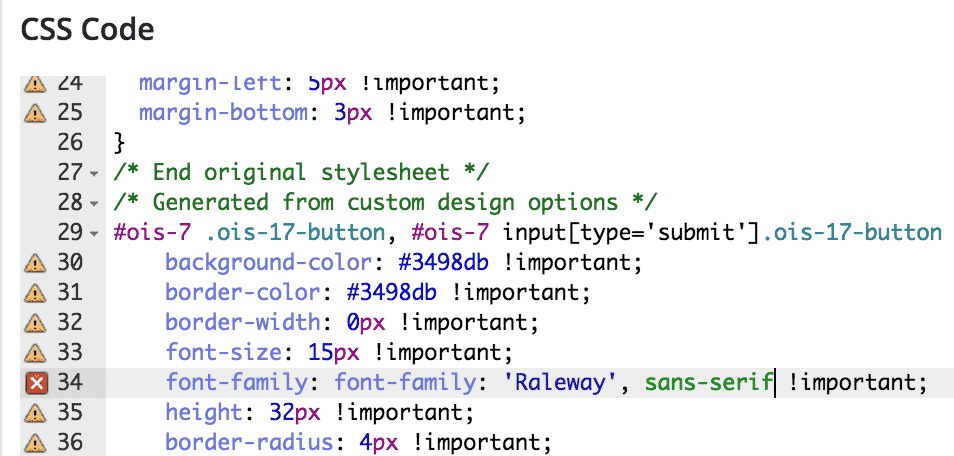
Repeat everywhere you see “font-family”.
9) Create a new skin in Opt-in Skin and give it a name. If you flip all the way through all the design options, the very last one will be the custom skin you create with your new font. Select that custom skin, save it and you're good to go. You won't be able to change any of the options from here, so make sure that you get it exactly as you want it before you go through the steps of making it custom.